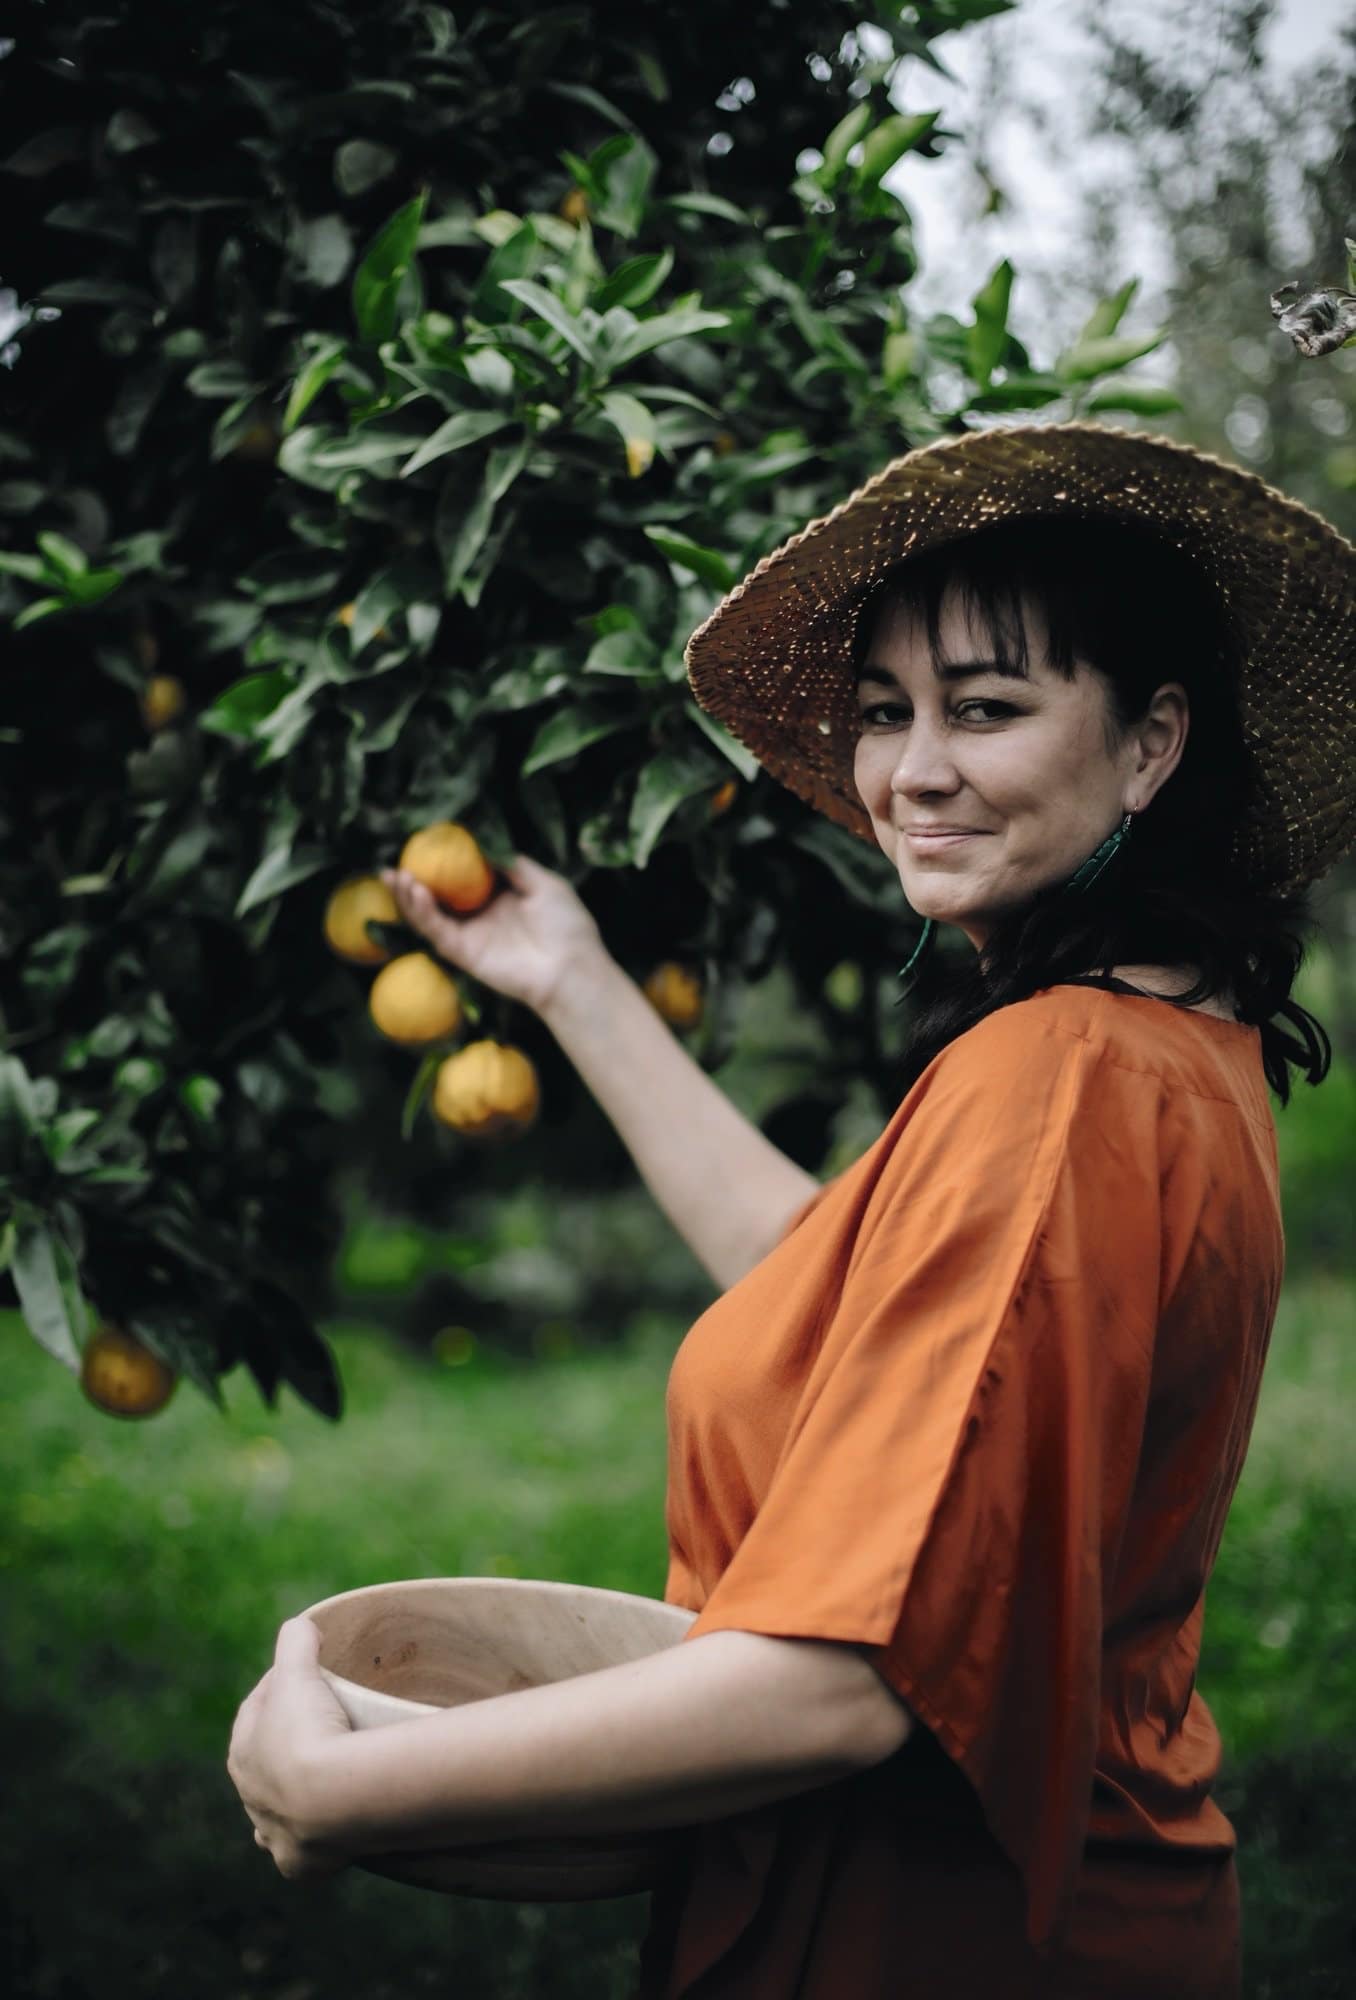
Harakeke (flax) artist, hāngī enthusiast and top Kiwi food photographer and stylist Christall Lowe shares some early food memories, her career beginnings and highs and three delicious recipes from new book Kai. Words & Photos Christall Lowe
I grew up in the small rural town of Feilding, in the heart of the Manawatū, as the eldest of four children.
I remember cooking from a very young age. My parents had a Chinese cookbook that I absolutely loved – in fact it’s where I learned to make the same fried rice I make today – and it still sits on my bookshelf.
I went to a garage sale when I was about ten years old and bought a plastic box full of delicious looking recipe cards, and a couple of spiral-bound recipe books with images that made me want to make my own cookbook.
My most frequently used recipe cards were for pavlova, stuffed mushrooms and coconut ice, and I wrote my very first experimental recipe in Standard 4 (Year 6). I’d make chocolate cake, ice cream and gingerbread houses.
Every now and then my brother and I would pretend to have a restaurant, and we’d write out fancy menus and set the table like we were at the Old Flame (a restaurant in Palmerston North). I’d cook and he’d be the waiter.
Although I dreamed of becoming a chef, or rather, designing a restaurant that had its own kitchen garden and hāngī pit (the dream is still there, lingering in my subconscious), I ended up going to the School of Architecture and Design at Victoria University, and completing a degree in Interior Architecture.
But not content with designing either modern living spaces or commercial fit-outs, I went with my heart, and my thesis project was based around, you guessed it… kai. I designed my dream restaurant, but much more than that, I designed spaces based on the rituals and processes of kai – namely harvest, store, cook and eat. ‘A recipe for ritual’, I named it.
One Saturday morning in the middle of winter, I saw two sets of images on Facebook (this was the pre-Insta food world) that totally sparked something within me and set my dreams in motion. One set of images showed beautifully and simply styled waffles, honey and a coffee maker, all in a very dreamy, rustic, white table setting. The other images were behind-the-scenes shots from a shoot for a food magazine. No way, I thought. The pros actually do it like this?
I thought it was just me and my amateur ways that staged scenes on the floor or on my dining table! And so, on this rainy weekend morning in June of some year in the 2000s, I had my eureka moment. I could do this. I was already doing this. But I could do it ‘for real’.
I threw myself into mastering my camera and craft. I used it at every opportunity, and created styling opportunities for myself. I analysed my favourite images on Pinterest, blogs, in cookbooks and magazines, I analysed every little detail. I started delving into the depths of the internet to find out about composition in photography, using natural light, colour theory and camera settings. I learned how to shoot comfortably in manual mode – and this was a game changer!
Then I decided to start treating Instagram more like a living portfolio, and I got my first ‘real life’ styling jobs. Starting with a few small businesses, styling their products, I was then picked up by a couple of content-creation agencies, for whom I shot food products. It was when I was approached by a major food company here in New Zealand that food styling and photography became a full-time gig. One big thing led to another big thing, and soon I had work coming out my ears.
Now I’m a commercial food stylist, food photographer and recipe developer. As well as being a busy mum of three children, I spend my days styling and photographing food for both large and small brands, restaurants and cafés, publications, television commercials and top chefs.
Sometimes I’m in my own kitchen producing dishes according to a brief or developing recipes for clients, sometimes I’m capturing the amazing work of world-class chefs, and sometimes I’m the food stylist in a TV studio, working with a crew.
My work has been used on everything from billboards to magazines, food packaging to websites, TV adverts to cookbooks, and I’m so proud to have won a much coveted Pink Lady International Food Photographer of the Year award in 2021, and the New Zealand Food Photographer of the Year in 2022.
No two days are the same, and I work with a good amount of creative intuition, creating detail‑rich photographs with an ethereal sense of mood and depth that captivates the senses, guiding the viewer’s eye through a shot that has been thoughtfully considered. I absolutely love what I do, and I am grateful that I can do what I love.
Feijoa Ice Cream

Making feijoa ice cream with my cousins is something of a tradition. We first made it back in standard three (about nine years old), using a recipe from the School Journal. Every year now we make a batch of this when the feijoas are dropping, and even my cousin who now lives in Australia, and can’t get feijoas from a tree, still buys them especially for this treat (at an exorbitant price). I’m so thankful that we have a few backyard feijoa trees, but if you don’t, you will often come across schoolkids selling bags of them at their front gate.
Makes approximately 2 litres
Ingredients
- 2 eggs, separated
- 1 can (395g) sweetened condensed milk
- 2 cups feijoa flesh, puréed
- 2 tablespoons lime or lemon juice
- 1 cup (250ml) cream
Method
Using an electric beater, beat the egg yolks with a steady drizzle of condensed milk until pale and creamy – about 3–4 minutes. Add the feijoa purée and lime or lemon juice and beat until combined.
Note: you can reserve some of the feijoa purée to swirl through the ice cream at the end, but be aware it will freeze harder than the ice cream due to the higher water content.
In a separate bowl, whip the cream until thick. In another bowl, and with clean beaters, beat the egg whites until stiff.
Carefully fold the whipped cream and then the egg whites into the condensed milk and feijoa mixture until just combined.
Pour into a freezer-safe container with lid (around 2-litre capacity), swirl through reserved feijoa purée, if desired, and freeze for at least 5 hours or until set.
Leave the ice cream out of the freezer for 5 minutes to soften before serving.
Kūmara cake with orange toffee sauce

What better way to celebrate the Matariki harvest than by enjoying one of the most significant crops
for Māori, the kūmara. Here I have combined it with oranges to make a moist, luscious cake, served with toffee sauce and ice cream. I use orange kūmara in this recipe for their softness and sweetness. As a one-bowl, easy-mix cake, you’ll be whipping this up often!
Serves 12
Ingredients
- 1 cup plain flour
- 1 cup wholemeal flour
- 2 teaspoons baking soda
- 2 teaspoons mixed spice
- ½ cup brown sugar, firmly packed
- ½ cup white sugar
- 2 cups peeled, grated orange kūmara (approx. 2 medium)
- 4 eggs
- 1 cup canola or rice bran oil
- 2 medium oranges (seedless), peeled and blended to a purée (leave the skin on ½ an orange for a more zesty flavour)
For the orange toffee sauce
- 1 cup caster sugar
- ⅓ cup freshly squeezed orange juice
- ⅓ cup cream
Heat oven to 160°C. Grease and line a medium rectangular cake tin (approx. 23 x 33cm).
In a large bowl, combine dry ingredients, including kūmara, aerating with your hands.
Add wet ingredients to dry and mix with an electric beater on low for 1 minute.
Pour batter into prepared cake tin, and bake for 45 minutes or until cake springs back when lightly touched.
While the cake cooks, make the orange toffee sauce. Place sugar and orange juice in a medium saucepan and stir to combine. Cook mixture over a medium heat, without stirring, swirling the pan every now and then, until a light caramel colour, about 8 minutes.
Remove from heat and carefully add cream (take care here as the mixture will bubble vigorously), then return to low heat and stir until smooth.
When the cake is cooked, leave to rest in the tin for 10 minutes before slicing and serving warm, smothered in orange toffee sauce and topped with a scoop of vanilla ice cream.
Oven-cooked Hāngī Kono

These kono (food baskets) are simply meat, root vegetables and stuffing steamed inside cabbage leaf parcels. You can use any cut of meat, but pork and lamb are hāngī favourites. You can also experiment with the root vegetables used. This was my nana’s way of making a ‘hāngī’ in the comfort of her own kitchen, especially in winter. No digging required, no wood to burn, no stones to heat! The result is succulent, tender parcels of kai, steaming hot as if they’d just come out of the ground. And don’t forget the salt, as Grandad would remind us constantly. Seasoning your meat makes a huge difference to taste!
Serves 4
Ingredients
- 1 cabbage
- 4 pork chops, well salted
- 4 lamb chops, well salted
- 2 kūmara, peeled and chopped into 3cm chunks
- 4 potatoes, peeled and chopped into 3cm chunks
- ¼ pumpkin, peeled and chopped into 3cm chunks
- salt
- ½ cup water
For the stuffing
- 8 slices of bread
- 1 onion, diced
- 1 medium carrot, grated
- 2 tablespoons mixed herbs
- 2 teaspoons salt
- 100g butter, melted
Method
Heat oven to 200°C.
To prepare the stuffing, break bread into small chunks by hand, or in a food processor. Combine all ingredients in a bowl, and set aside.
Line a large roasting dish with 2 layers of cabbage leaves (use the smaller inner leaves for this, and save the large leaves for your ‘baskets’).
Using 4 large cabbage leaves as baskets, fill each with one pork chop and one lamb chop, 6 to 8 vegetable chunks, and top with stuffing.
Place each cabbage basket into the roasting dish, season with salt, and cover each with two large cabbage leaves.
Pour the water over the whole dish, and cover snugly with two layers of tinfoil.
Cook for 1 hour at 200°C, then lower the temperature to 160°C and cook for a further 2 hours.
Remove from oven and serve immediately, using a spatula to place each kono on a plate for diners to open and enjoy.
Cook’s note
You can make one big kono instead by lining the roasting dish with cabbage leaves, placing in the meat, vegetables and stuffing, seasoning and covering with cabbage leaves, water and tinfoil as per the instructions above.
Edited extract and recipes from Kai: Food stories and recipes from my family table, by Christall Lowe, photography by Christall Lowe, published by Bateman Books, RRP$59.99.